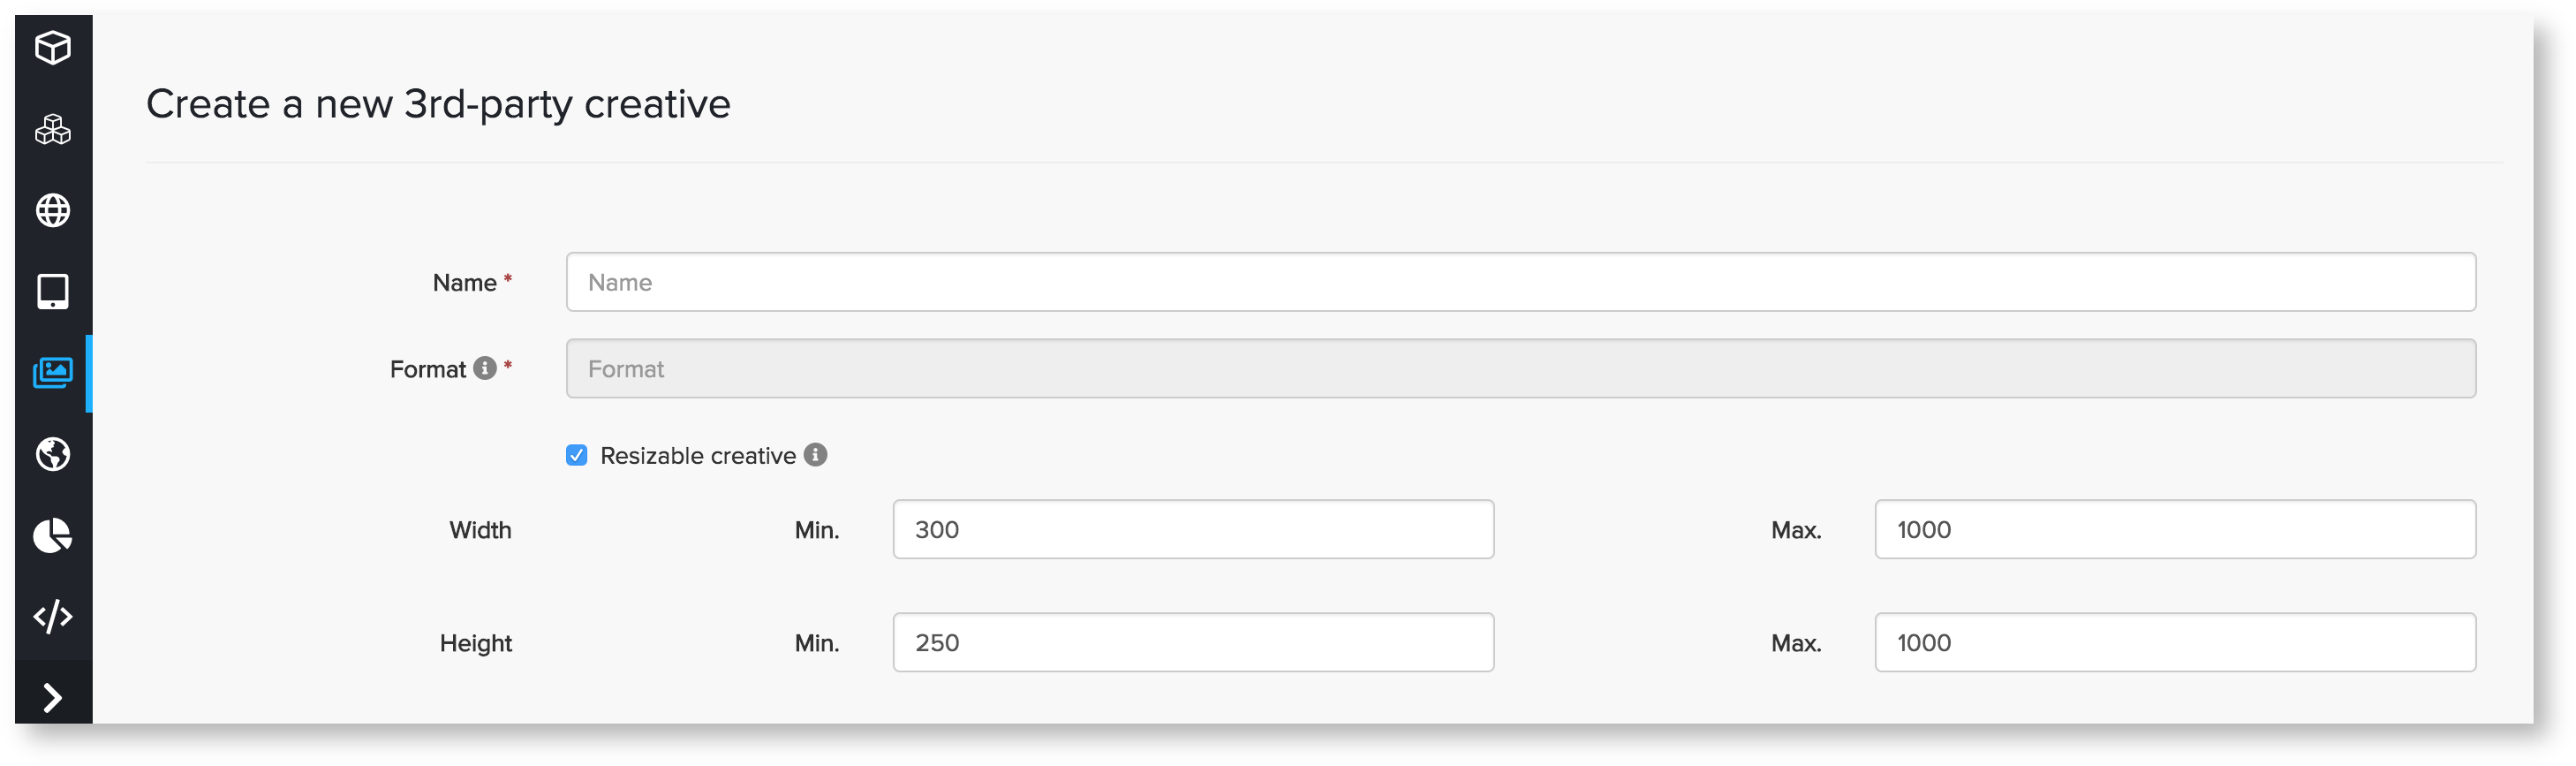
Сравнение версий
Ключ
- Эта строка добавлена.
- Эта строка удалена.
- Изменено форматирование.
Uploading a creative
Creative upload menu is accessible via the left section of the GetIntent UI.
To upload a creative, press the New creative button and select the required creative type from the drop-down menu
Image Removed
Image Added
Be sure to check the technical requirements for the selected creative type before uploading files.
Upload files and fill in the required information to finish creating an item.
Image Removed
Image Added
Resizable creatives
If your tags can change size dynamically you can use Resizable Creatives feature.!
| Информация | ||
|---|---|---|
| ||
|
You can set minimal and maximum sizes.
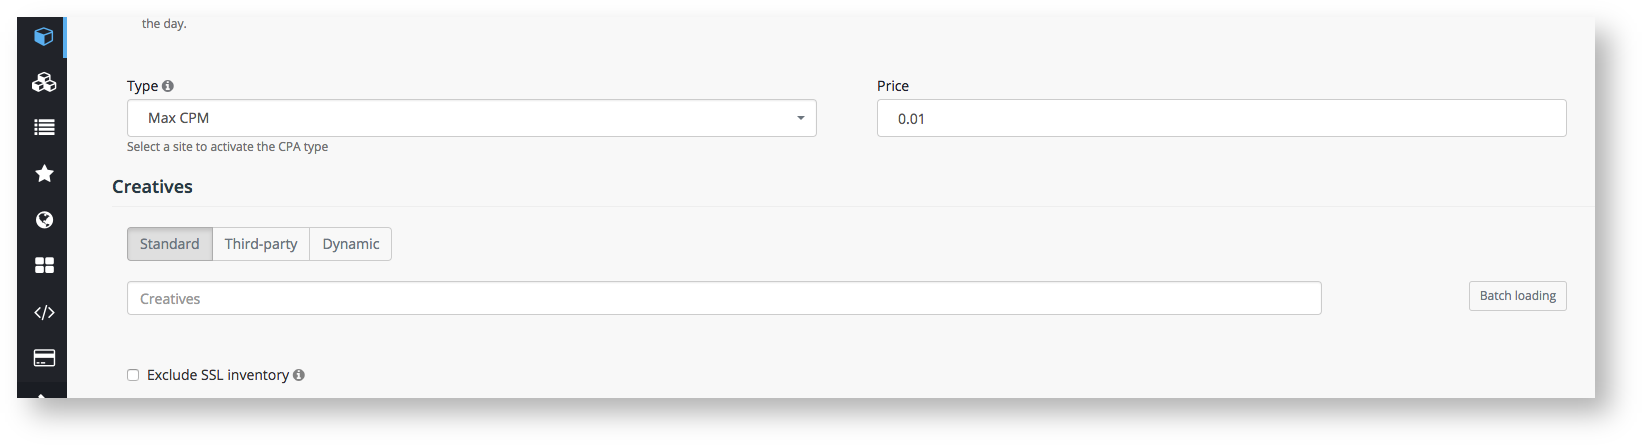
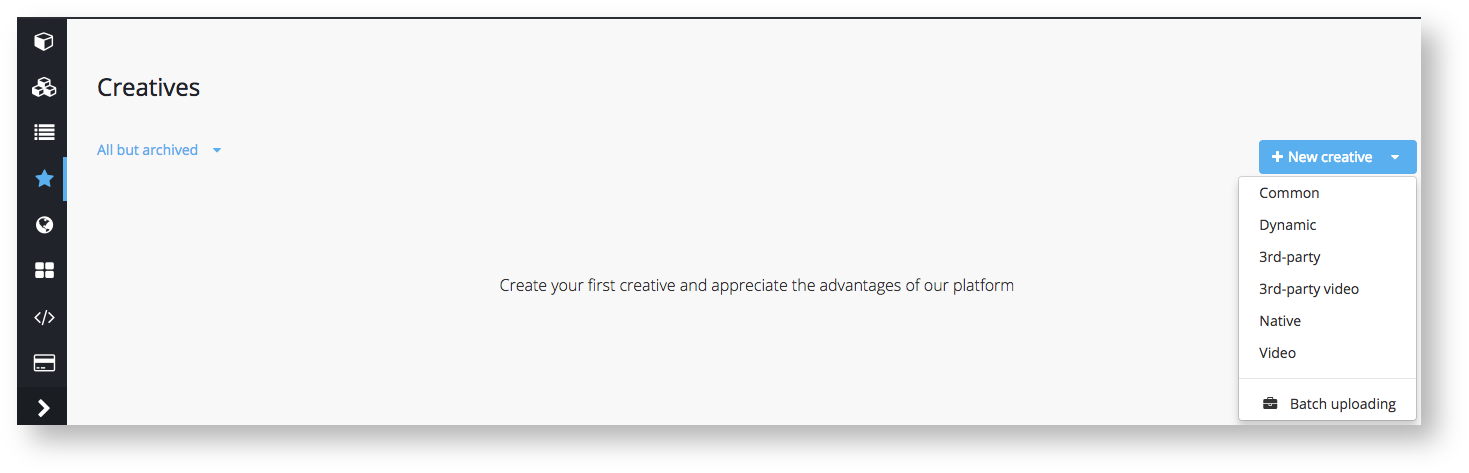
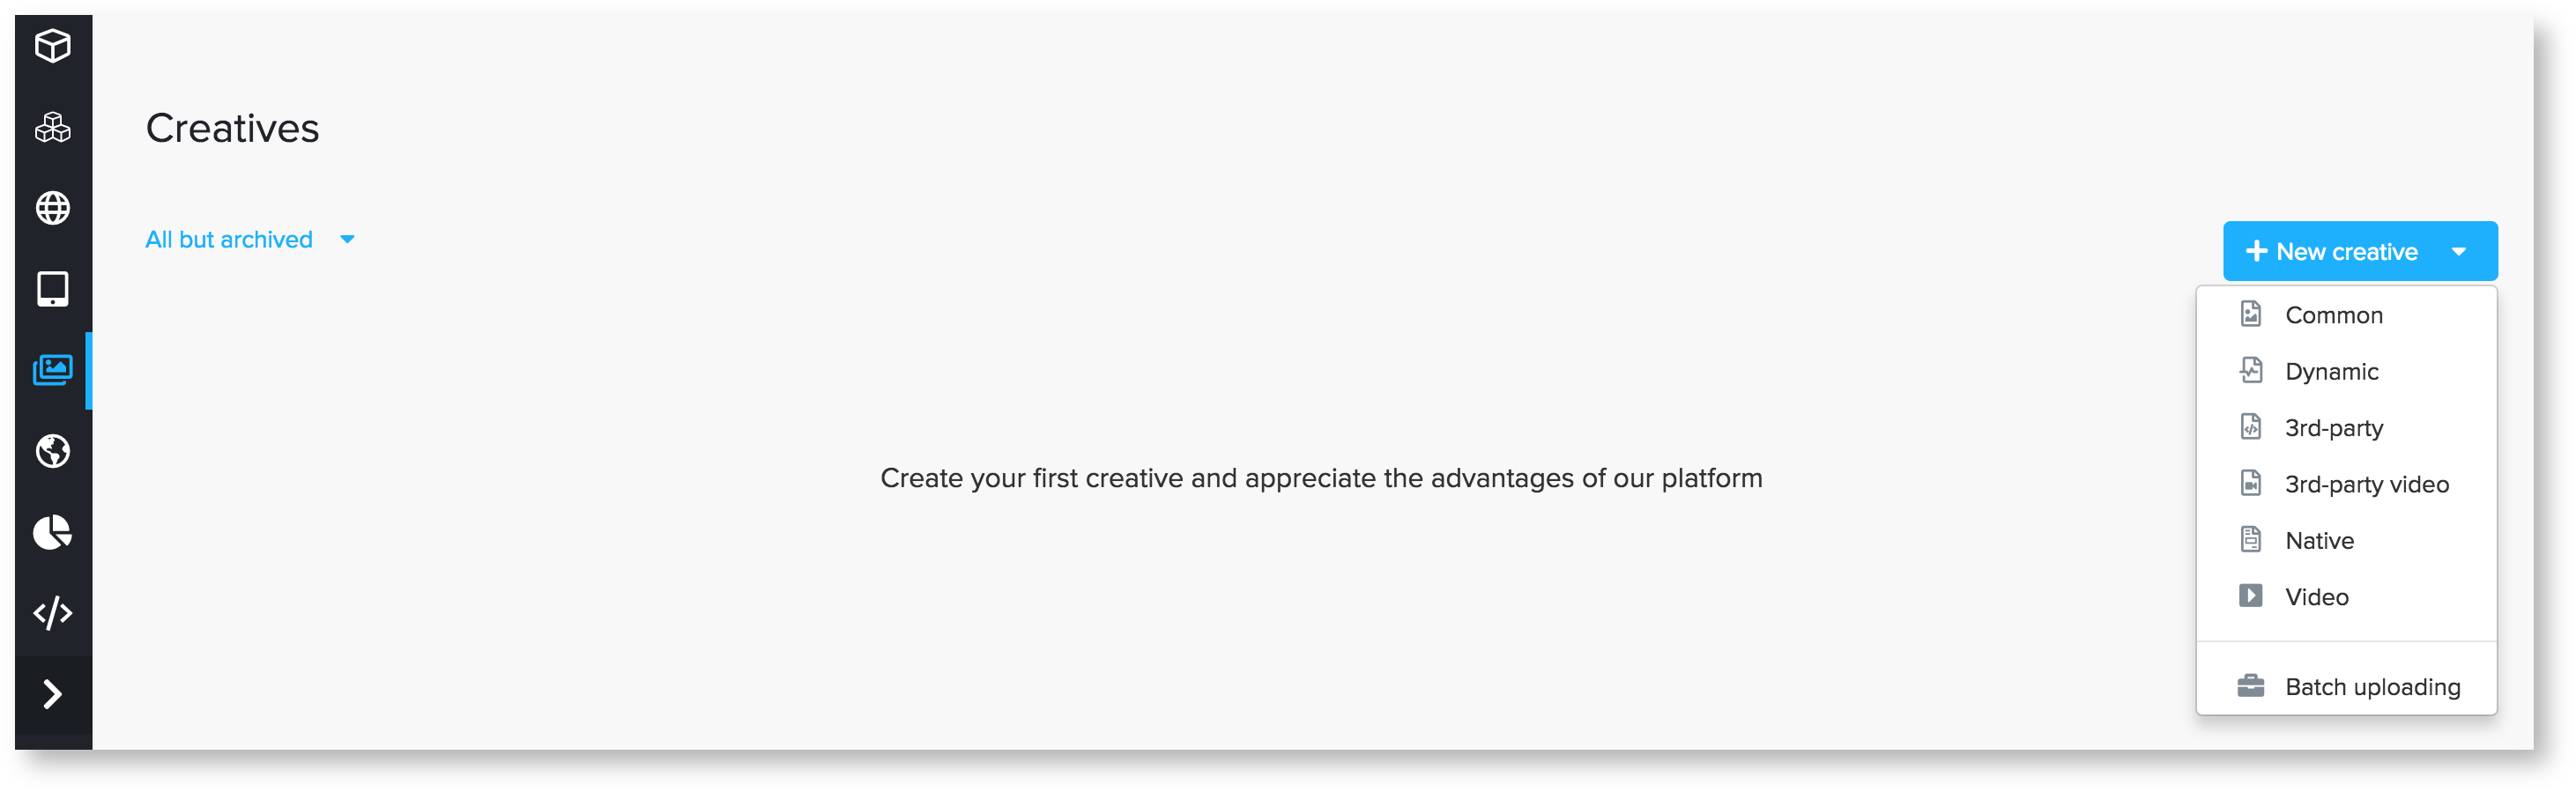
Image Removed
Image Added
Once uploaded, creatives will be automatically sent for approval (moderation).
Note: some SSPs have additional approval measures which may require assigning your creative to an active campaign
To assign a creative to a campaign, proceed to the Basic campaign settings and scroll down until block entitled "Creatives".
Image Removed
Image Added
Image Removed
Image Added
Start typing in names or IDs of uploaded creatives that you wish to add to the campaign. Select relevant creatives from the drop-down menu
Batch uploading
If you have multiple creatives to upload you can use the batch loading function located in the basic campaign settings.
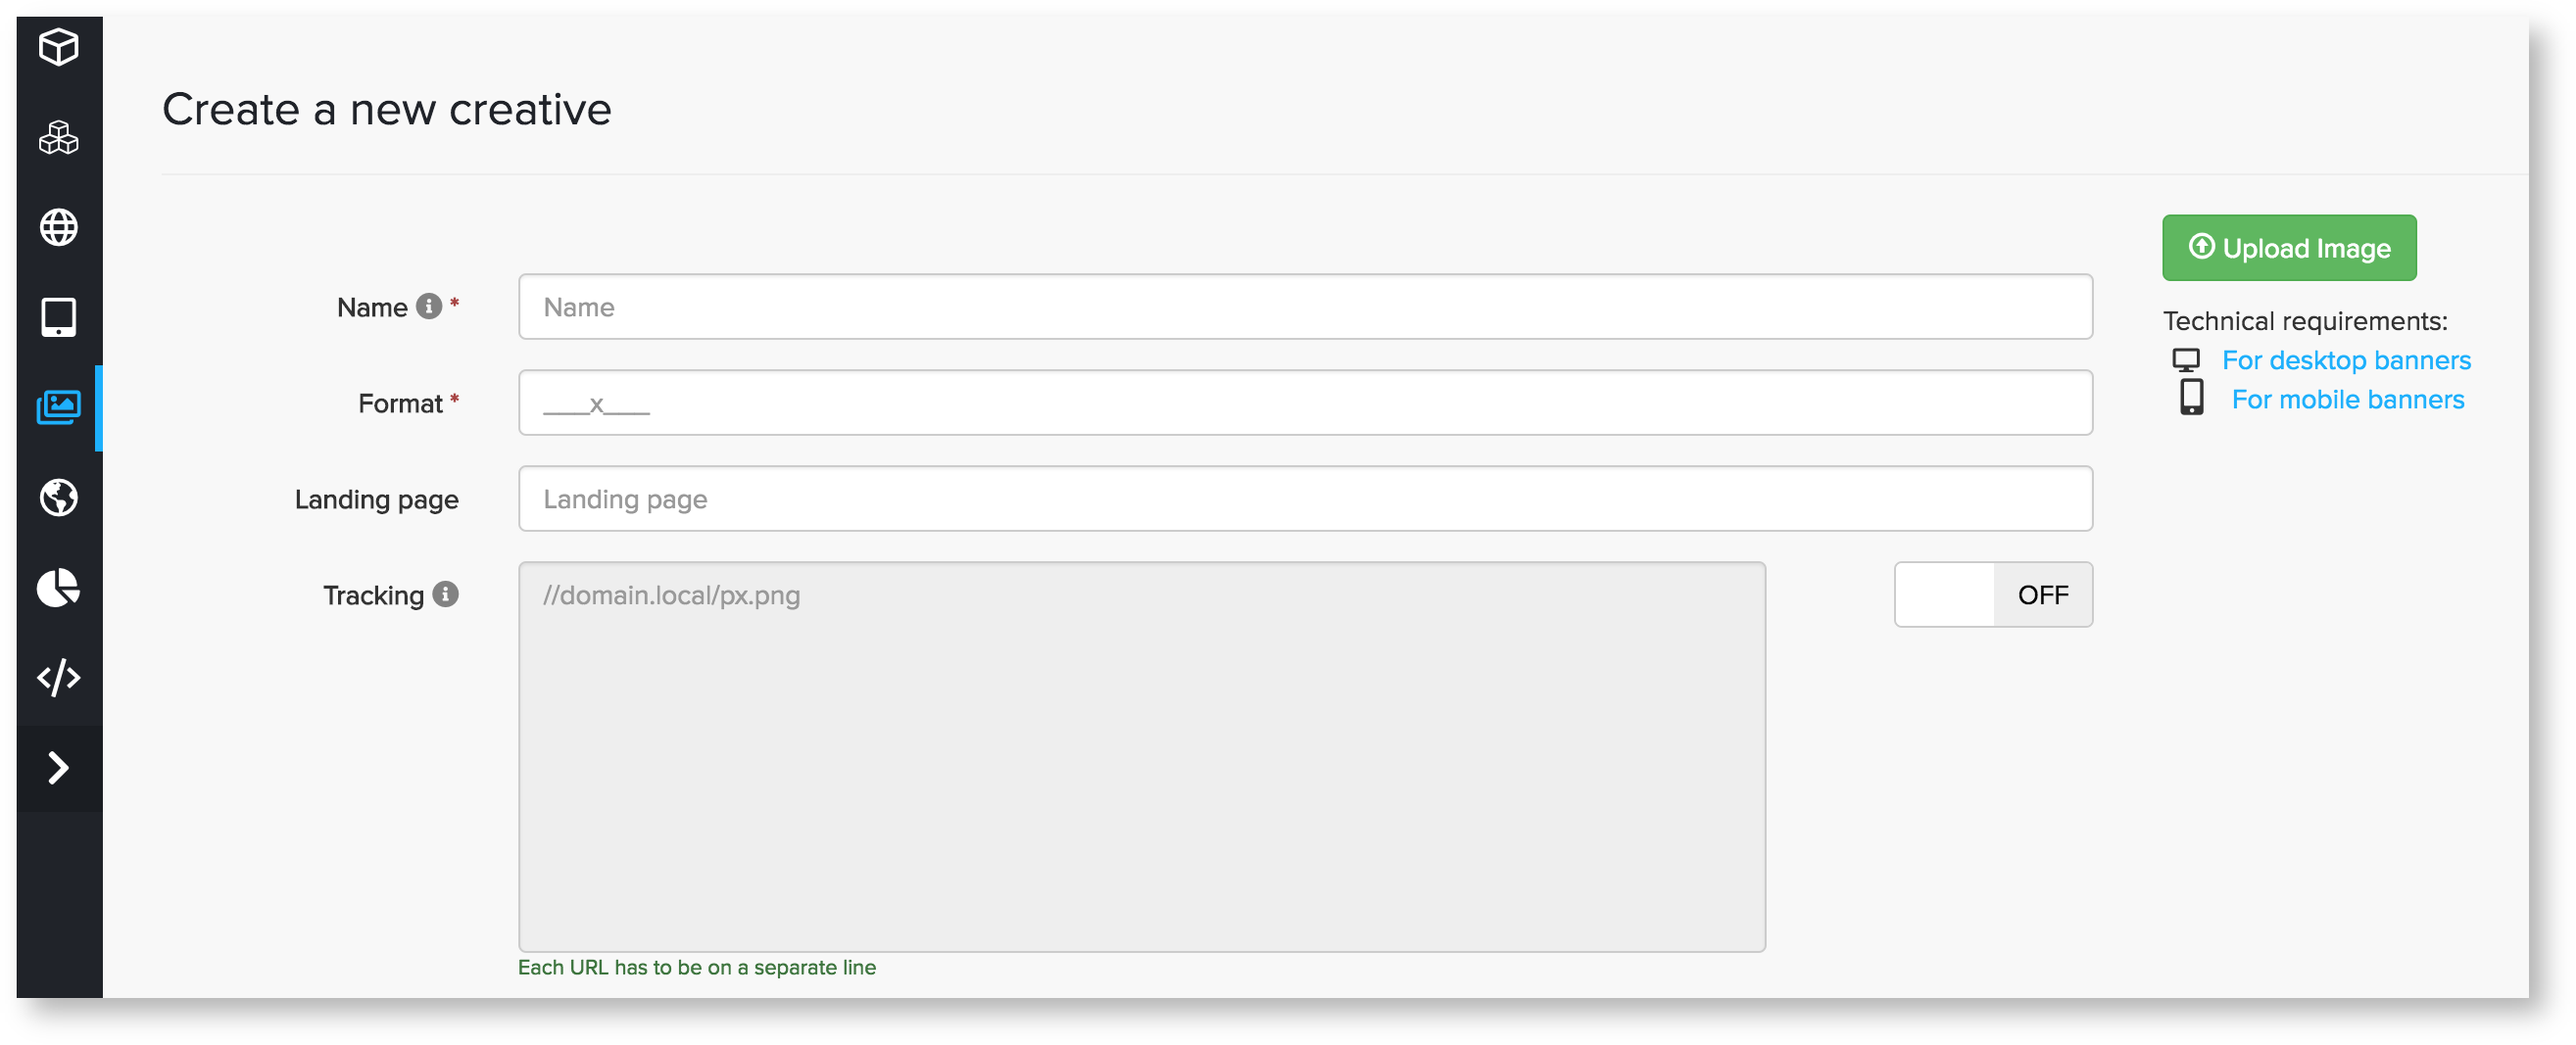
After uploading creatives you can set Landing page and Tracking for each creative.
Image Added
Do not forget to save your progress on the bottom of the page.