Below you can find instruction how to set up pixels:
Оглавление
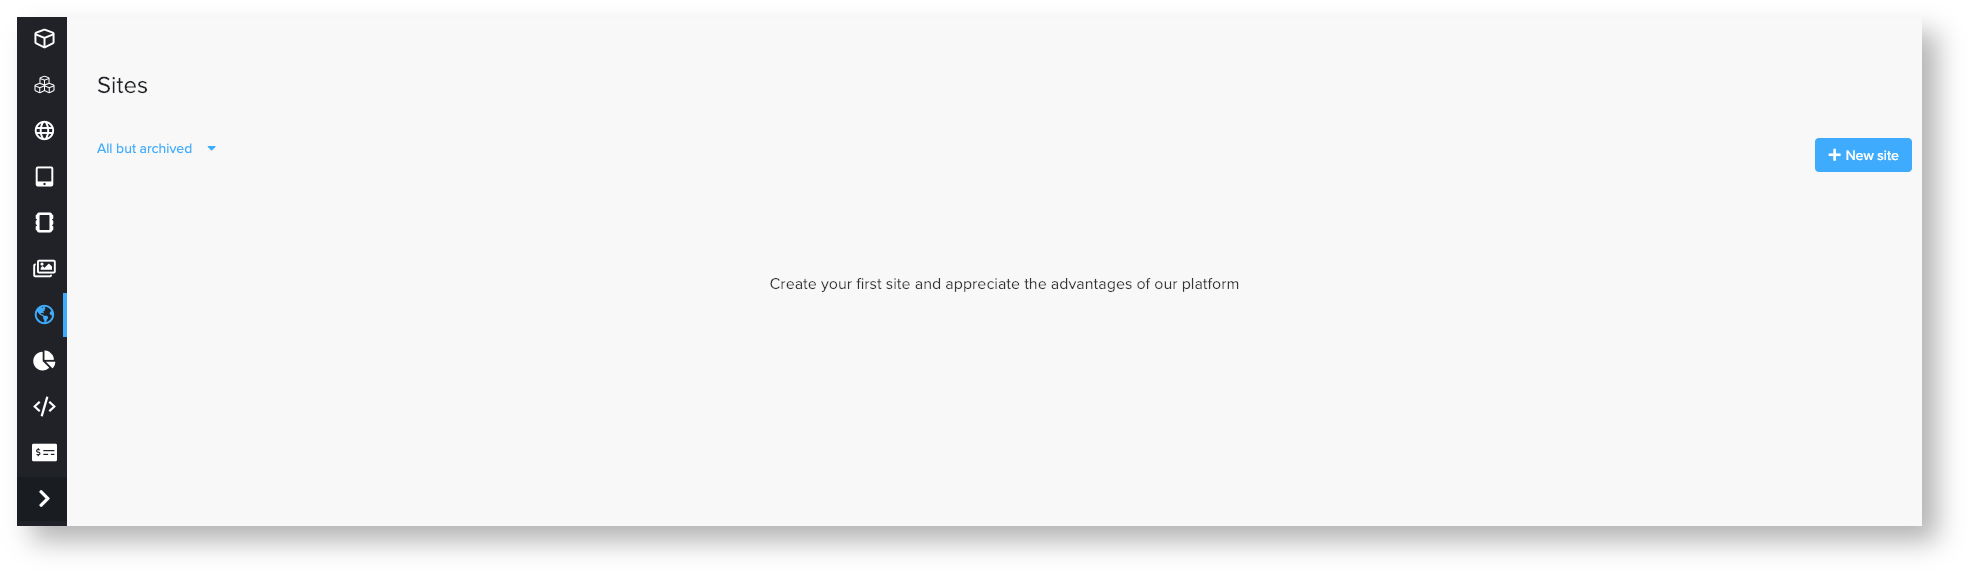
To create a conversion pixel you need to go to the Sites tab button create a new site.
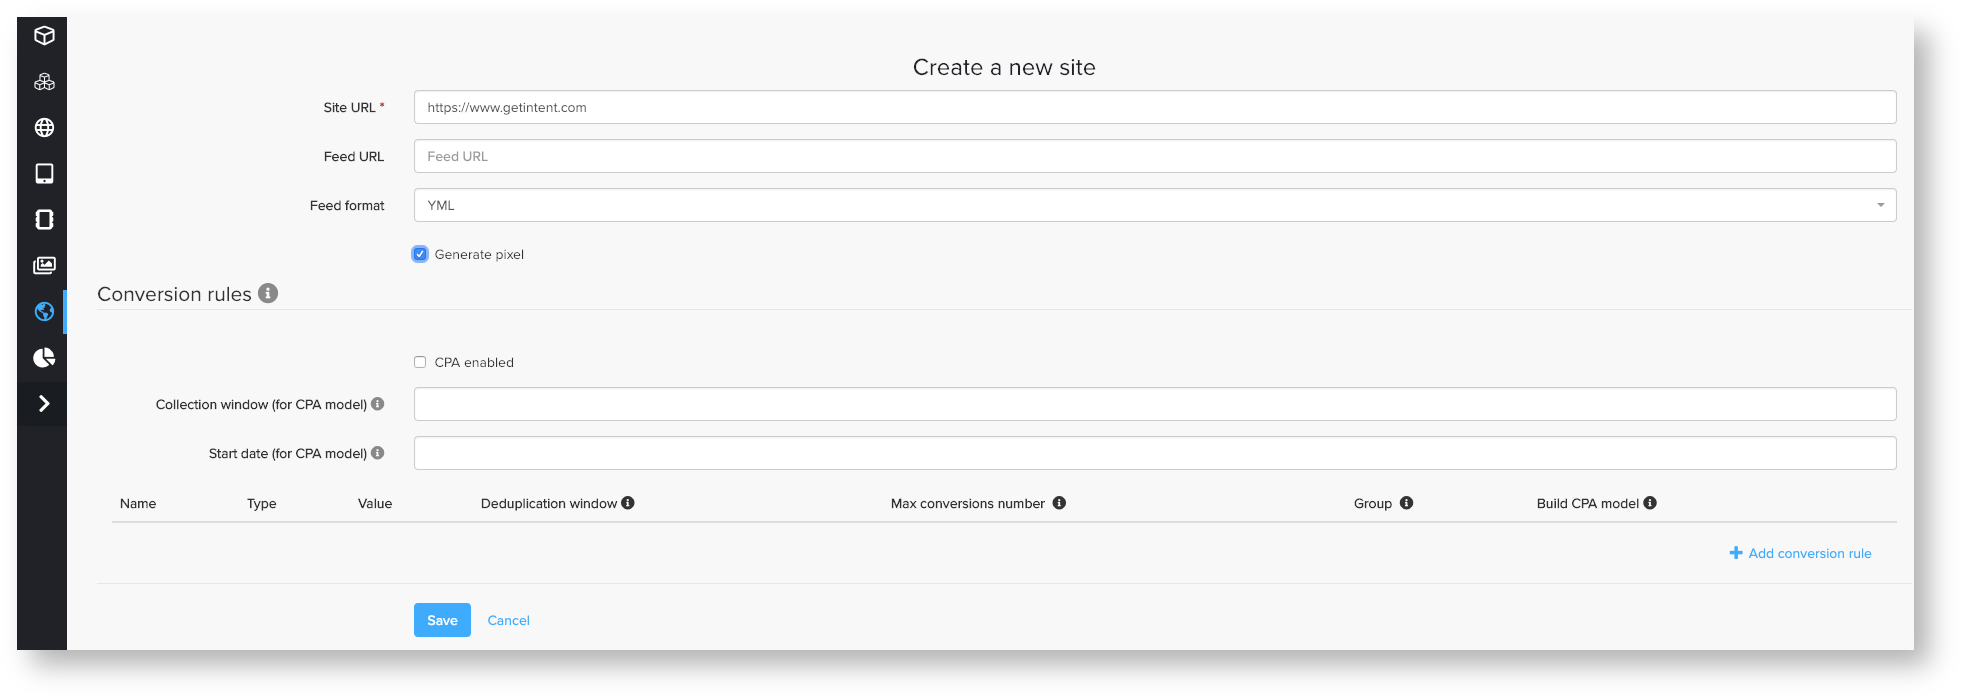

Then press save and you will see the menu where you can create a pixel.
JS pixel setting
To create JS pixel you need to do the following important steps:
Press the chain icon left to the created site
Choose Conversion Pixel in Pixel Type menu
Insert Pixel ID (can be a random number) and remember it.
Then press button Generate and you will the pixel in the HTML-code section.


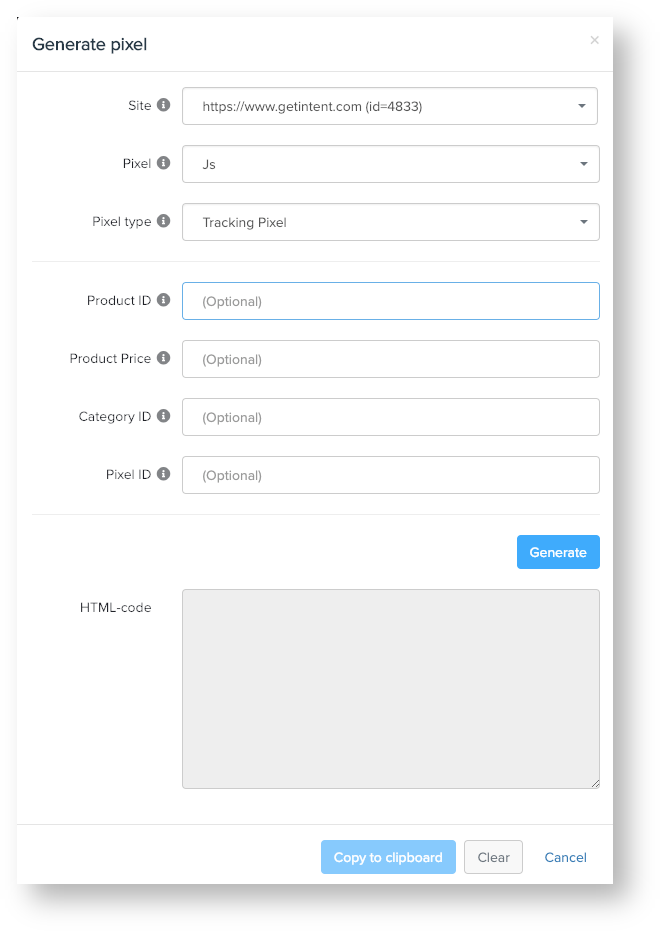
So now you created the pixel, you can copy and place it on your web-sitewebsite.
IMG pixel setting
If you need img an IMG tag (non-JS) you can use the example below, but first, you need to change:
- site_id -- you need to put here site id you created for tracking.
- pixel_id=1234 -- you can choose any random number
Examples of IMG pixels:
| панель |
|---|
| <img src="https://px.adhigh.net/p/conversion.gif?syncs=default&site_id=1234&pixel_id=1234" width="1" height="1"> |
| панель |
|---|
| <img src="https://px.adhigh.net/p/conversion.gif?syncs=bsw&syncs_only=true" width="1" height="1"> |
| Информация |
|---|
After that you need to go back in the Site you created (press Edit Site button) and create Conversion Rule. You can find instruction on how to create Conversion Rule here. |